Android Studio on Mac: A Practical Setup Guide for Beginners (2024)
If you’ve decided to start building Android apps and you’re on a Mac, Android Studio is where you begin. It’s Google’s official IDE for Android development, and it packs a lot into one application — code editor, emulator, build tools, and debugger all in one place. The setup process is straightforward, but there are a few things that trip up beginners that are worth knowing in advance.
This guide walks you through installing Android Studio on macOS, understanding what you’re looking at when it opens, and getting your first project running in the emulator. It’s written for 2024, covering Apple Silicon Macs (M1/M2/M3) as well as Intel Macs.
Before You Install: What You Need
Android Studio on Mac requires macOS 10.14 (Mojave) or higher. For Apple Silicon Macs (M1 and later), Google now ships a native ARM64 build of Android Studio, which runs significantly faster than the Rosetta-translated version. Make sure you download the right one — the Android Studio download page auto-detects your chip type, but double-check if you’re on an older bookmark or link.
You’ll also want at least 8GB of RAM (16GB recommended — the emulator is memory-hungry) and around 8GB of free disk space after installation, including the Android SDK.
Installing Android Studio
Go to developer.android.com/studio and download the latest stable release. The downloaded file is a .dmg. Open it, drag Android Studio into your Applications folder, and launch it from there.
The first time Android Studio opens, a setup wizard runs automatically. This is where most beginners hit their first snag: the wizard installs the Android SDK, emulator images, and build tools in the background, which can take 10–20 minutes depending on your connection. Let it complete fully before trying to create a project. Skipping or interrupting this step causes confusing errors later.
One thing worth noting for Apple Silicon users: when the wizard asks you to choose an emulator image, select one marked with (ARM Images). Intel-based emulator images will run extremely slowly on M-series Macs because they require full instruction translation. ARM images run natively and are dramatically faster.
A Practical Tour of the Interface
Android Studio is built on IntelliJ IDEA, so if you’ve used any JetBrains IDE before, the layout will feel familiar. If not, here’s what you’re looking at.
Project Tool Window (left sidebar)
This shows your project’s file structure. The most important view is “Android” (select it from the dropdown at the top of the panel) — it groups your files logically rather than showing the raw filesystem, which makes navigation much easier. Key locations to know: app/src/main/java is where your Kotlin/Java code lives, app/src/main/res holds your layouts, images, and string resources, and app/src/main/AndroidManifest.xml declares your app’s components and permissions.
Editor Window (center)
This is where you write code. Android Studio’s editor includes real-time error highlighting, code completion (press Ctrl+Space to trigger it manually), and quick-fix suggestions. When it underlines something in red, click on it and press Option+Enter — this opens the quick-fix menu that often resolves the issue automatically, whether it’s importing a missing class or generating boilerplate code.
Layout Editor
When you open an XML layout file, you get a visual drag-and-drop editor alongside the XML. You can switch between Design, Split, and Code views using the buttons in the top right. The Split view — showing the XML and the visual preview side by side — is particularly useful when you’re learning, because you can see how XML attributes directly affect the rendered layout.
Logcat (bottom panel)
Logcat shows real-time output from your running app, including print statements, system messages, and crash stack traces. When your app crashes, the relevant error is shown here in red. Learning to read a stack trace is one of the most valuable early skills in Android development — the key is to find the first line that references your own package name (e.g., com.yourname.myapp), which is usually where the actual error originated.
Creating and Running Your First Project
From the Welcome screen, click New Project and choose the Empty Activity template. Give your app a name, set your package name (reverse-domain format, like com.yourname.appname), choose Kotlin as your language, and set Minimum SDK to API 24 (Android 7.0), which covers about 95% of active Android devices.
Once the project loads and Gradle finishes syncing (watch the progress bar at the bottom — don’t hit Run before it finishes), press the green Run button or use Ctrl+R. Android Studio will prompt you to select a device. If you haven’t created an emulator yet, click “Create Virtual Device,” choose a device model like Pixel 7, select an ARM system image, and click through to create it.
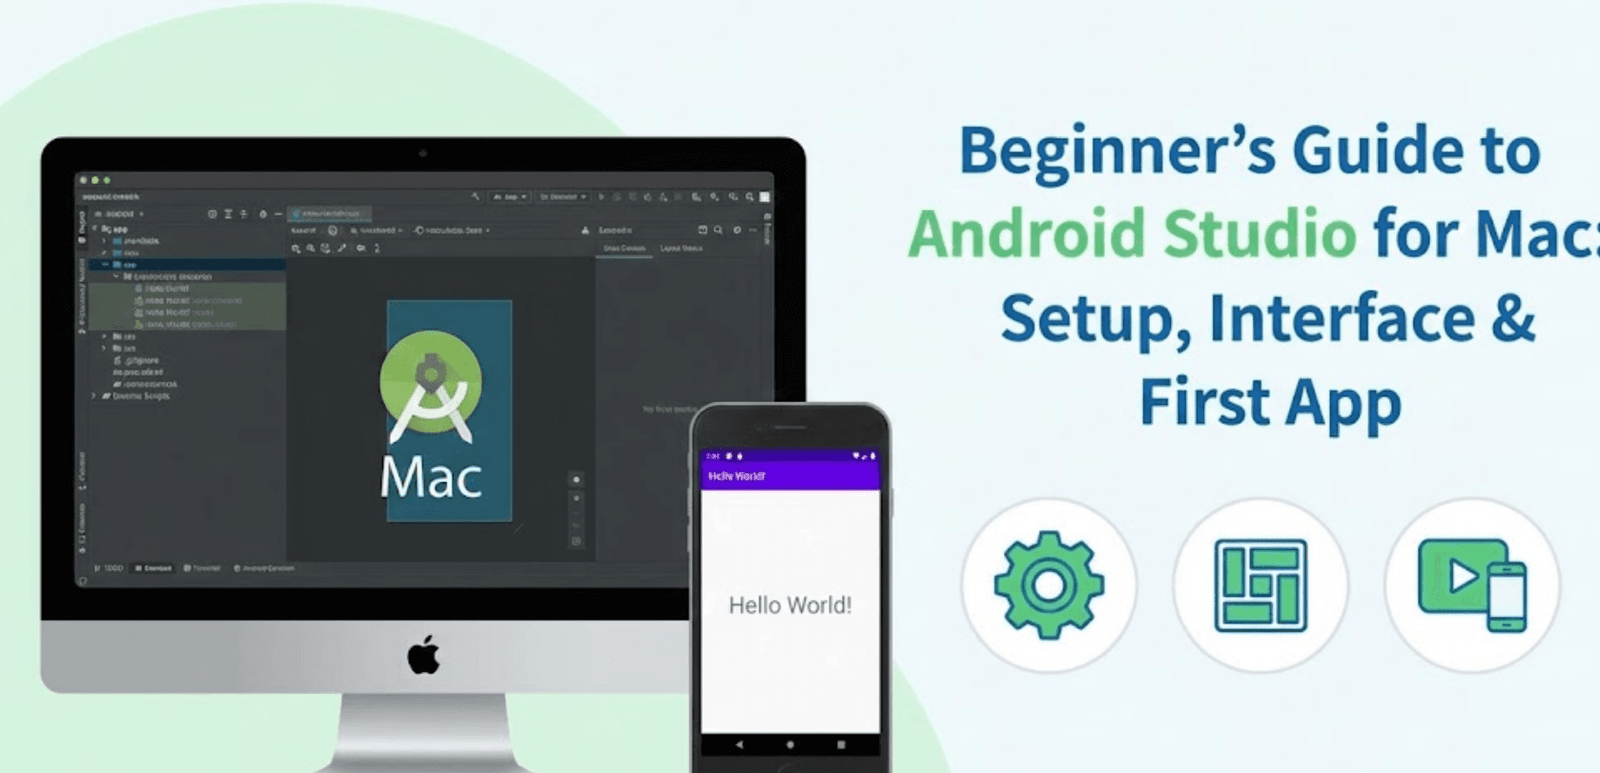
The emulator takes 30–60 seconds to boot the first time. Once it’s running, your app will install and launch, showing a white screen with “Hello World” in the center. That’s it — you’ve deployed your first Android app.
Mac-Specific Tips That Save Time
Keyboard shortcuts that matter most: Cmd+Shift+F searches across all files in the project. Cmd+B jumps to the definition of whatever your cursor is on. Cmd+Z undoes, Cmd+Shift+Z redoes. Ctrl+R runs the app. Shift+Shift (double-tap Shift) opens a universal search for anything — files, actions, classes, settings.
Emulator performance: On Apple Silicon, the emulator is fast enough to be your primary testing device. On older Intel Macs, consider connecting a physical Android phone via USB instead — it’s often faster and more reliable than the emulator. Enable USB debugging in the phone’s Developer Options (Settings → About Phone → tap Build Number 7 times) and Android Studio will detect it automatically.
Gradle issues: If Android Studio shows “Gradle sync failed” errors, the most common fixes are: ensuring your JDK is set correctly (File → Project Structure → SDK Location), or running ./gradlew clean in Terminal from your project directory. Gradle sync errors are frustrating at first but usually have straightforward solutions once you know where to look.
What to Learn Next
Once you have the environment set up and a project running, the best next steps depend on what you want to build. For general Android development, Google’s own Android Basics with Compose course is the official 2024-recommended learning path — it covers Jetpack Compose, which is the modern way to build Android UI and has replaced XML layouts as the preferred approach for new projects.
For deeper learning, the official Android developer documentation is genuinely well-written and comprehensive. Architecture topics to focus on early: understanding the Activity lifecycle, how to pass data between screens using Intents, and how to handle asynchronous operations with Kotlin Coroutines. These three concepts cover the majority of beginner confusion.
Android development has a real learning curve, but the tooling in 2024 is significantly better than it was even three years ago. The emulator is faster, Kotlin is more expressive than Java, and Compose removes a lot of XML boilerplate that frustrated beginners for years. It’s a good time to start.